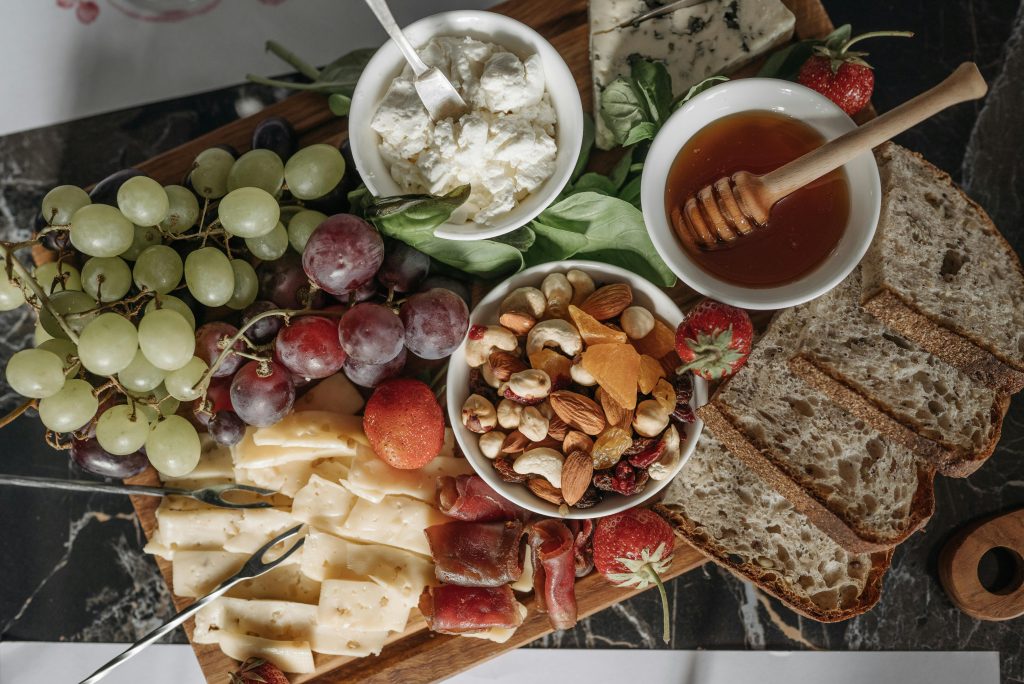
Creating a DIY grazing board is a fantastic way to elevate your gatherings. It’s not only a feast for the eyes but also a delightful way to satisfy your guests’ appetites.
Whether you’re planning a cozy get-together or a big celebration, a well-crafted grazing board can impress your guests and make your event unforgettable.
In this guide, we’ll walk you through the steps to create a stunning spread that will wow your friends and family.
Choose Your Board
The foundation of any great grazing board is the board itself. You can use a wooden board, a large platter, or even a clean cutting board.
The size of your board will depend on the number of guests you plan to serve. For a small gathering, a medium-sized board will do. Meanwhile, larger parties may require a bigger surface.
If you don’t have a large board, consider using multiple smaller boards to create a charcuterie display across your table.
Select a Variety of Cheeses
Cheese is often the star of any grazing board. Aim to include a variety of textures and flavors to cater to different tastes.
Some options to consider are soft cheeses like Brie or Camembert, semi-soft cheeses such as Gouda or Havarti, hard cheeses like Cheddar or Parmesan, or Blue cheese for those who enjoy a stronger flavor
Arrange the cheeses around your board, leaving space for other items. You can also pre-slice or cube some cheeses to make it easier for guests to serve themselves.
Add a Selection of Meats
Cured meats are a must-have for a well-rounded grazing board. Choose a variety of meats with different flavors and textures. Some popular options include:
- Salami
- Prosciutto
- Chorizo
- Pepperoni
Fold or roll the meats to add visual interest to your snack platter. Place them near the cheeses for easy pairing.
Incorporate Fresh Fruits and Vegetables
Fresh fruits and veggies add color and freshness to your grazing board. They also balance the rich flavors of the cheeses and meats. Some great options to include are:
- Grapes
- Berries
- Sliced apples or pears
- Cherry tomatoes
- Carrot sticks
- Cucumber slices
Spread the fruits and vegetables evenly around the board to create a vibrant and inviting appetizer arrangement. Dip them in water and lemon juice before placing them on the board to prevent them from browning.
Include Crackers, Bread, and Dips
No grazing board is complete without some crunchy elements and delicious dips. Here are some ideas to round out your spread:
- Assorted crackers
- Sliced baguette
- Breadsticks
- Hummus
- Olive tapenade
- Honey or jam
Arrange these items in the remaining spaces on the board, ensuring they are easily accessible.
Final Touches
To finish off your grazing board, add some extras to take your food presentation to the next level.
Consider including nuts like almonds or walnuts, olives, dried fruits like apricots or figs, and fresh herbs for garnish.
These little touches will make your board look even more appealing and provide additional flavors and textures for your guests to enjoy.
But if you want more convenience, a catered grazing platter can offer style and ease, allowing you to enjoy your event without worrying about food preparation.
Elevate Your Gatherings With a DIY Grazing Board
Creating a DIY grazing board is a simple and customizable way to impress your guests and elevate any gathering. With these easy steps and tips, you can make a stunning spread that looks impressive and tastes delicious.
So why not give it a try and see the compliments roll in? Time to get grazing!
Was this article helpful? If so, check out the rest of our site for more informative content.

